I made a dress using 3D modeling, math, and lasers!

This project plays with perspective and digital manufacturing techniques (sewing simulation, 3D modeling, laser cutting).
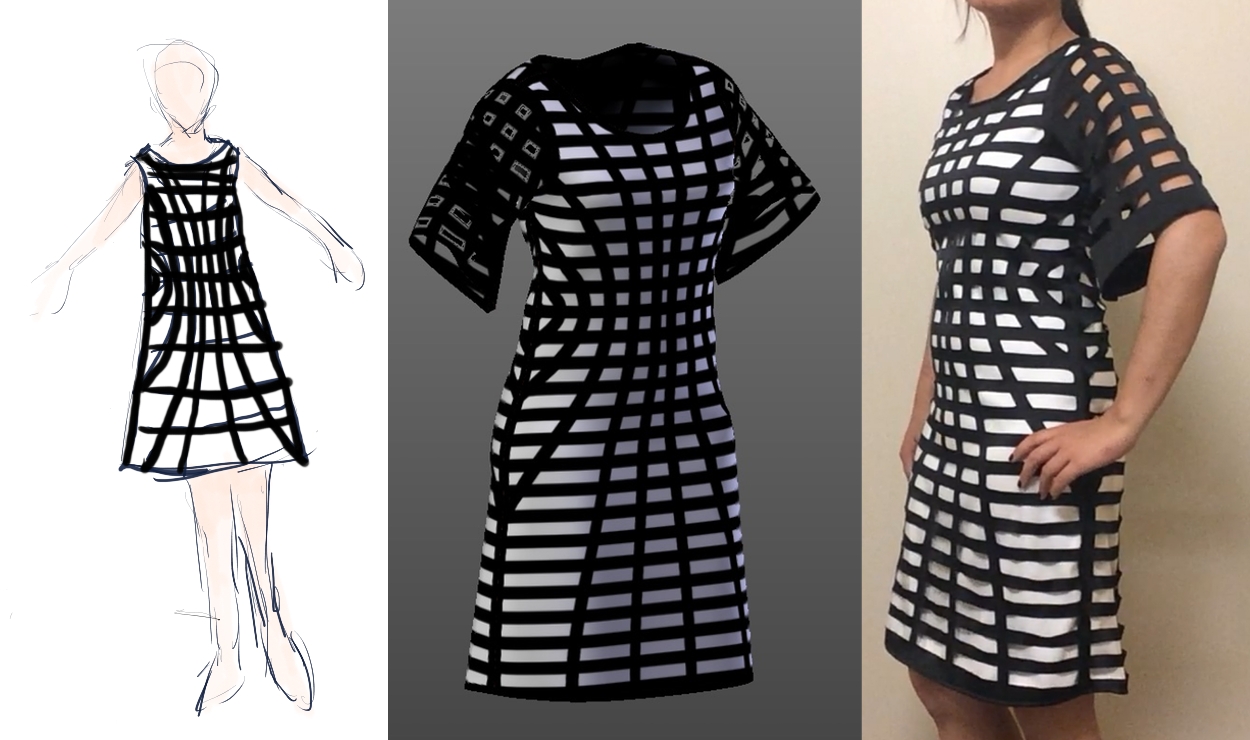
Left to right: a sketch, a render, the real thing.
Build Custom Avatar
I used Make Human to build a custom virtual model according to my specific dimensions: height, waist, hips, etc. If I'm going to custom make something, might as well make it fit my body. I'm short with a high waist, so the torso is usually problematic and dresses often fall below my knees, which makes me look shorter.
Designing the Sample Garment
I imported the Make Human avatar into Marvelous Designer to start designing the sample garment pattern. I drew the 2D pattern, defined the sewing lines, and simulated the sewing with Marvelous Designer's cloth simulation algorithm. It even comes with heat maps that shows which part of the garments are tight and loose. Having made quite a few prototypes, the heatmap is surprisingly accurate. It felt tight where the heat map said it would feel tight. It puckered where the render shows puckering.
Creating the Laser Cut Print
Next, I had to create the "print," the curvy lines on the dress. The curved lines could be represented by ArcSin formula. I used the online graphing calculator Desmos, an online graphing calculator to create the print. Here's a link to my ArcSin formula.
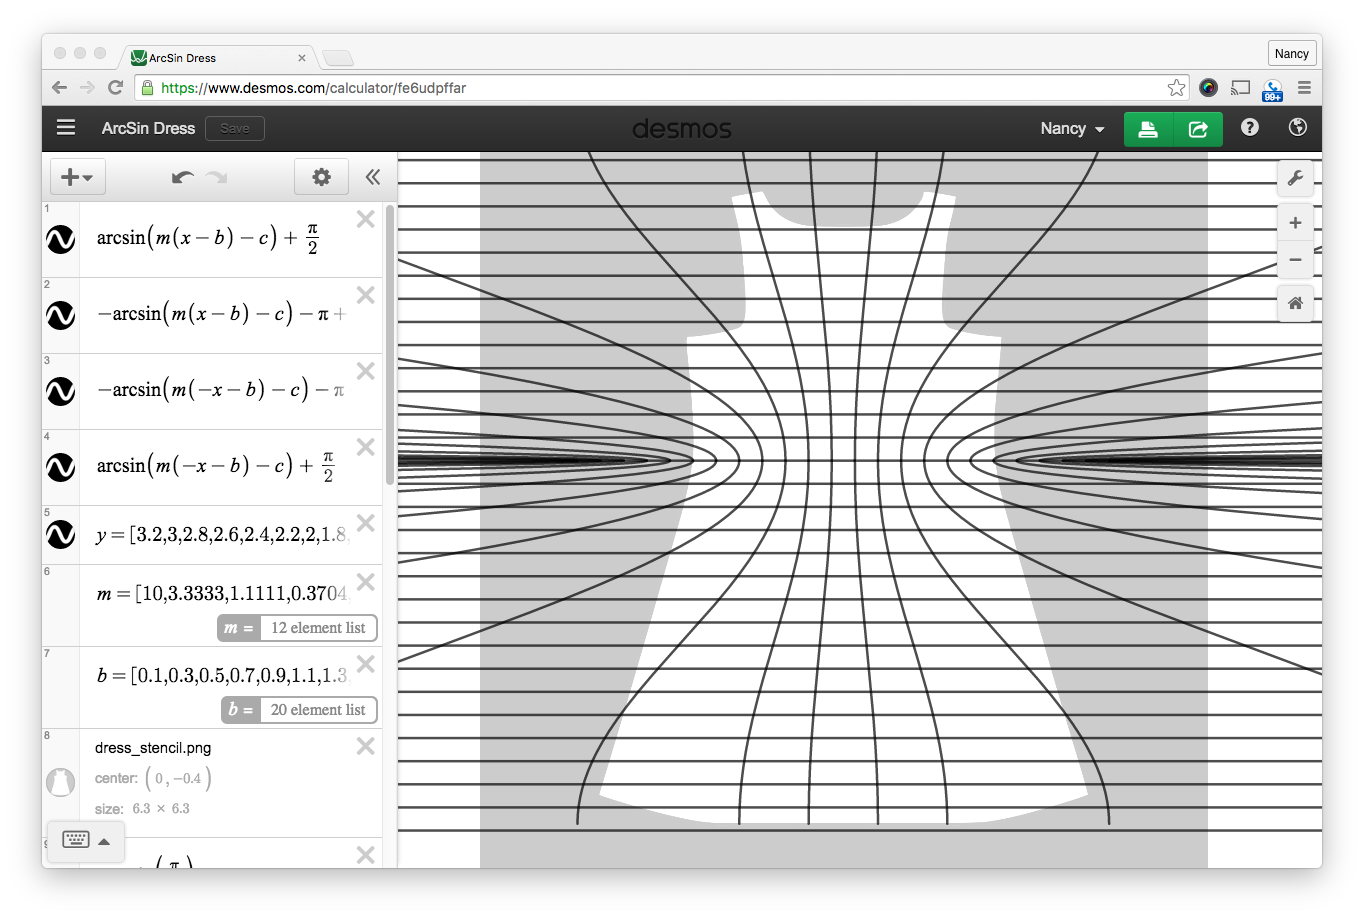
I imported the ArcSin graph into Pixelmator and thickened the lines.
Digitally Render the Garment
Next I exported the model from Marvelous Designer and imported it into Blender, my favorite modeling software. I used Blender to generate texture maps so I can correctly position my ArcSin lines on top of my clothing patterns. As a bonus, got a nice way to 3D preview the final design.
I think it matches the original sketch pretty well. Marvelous Designer exports the UV maps to match the 2D pattern's dimensions. This makes testing out different prints pretty easy to do.
Produce the Laser Cut Files
I imported the pattern file into InkScape to generate the vector files needed for laser cutting. I used InkScape to add seam allowance (1/4 inch in this case, 1.5 inches for the hems).
Finally! I got the patterns and files ready for laser cutting. Now time for some laser fun!!
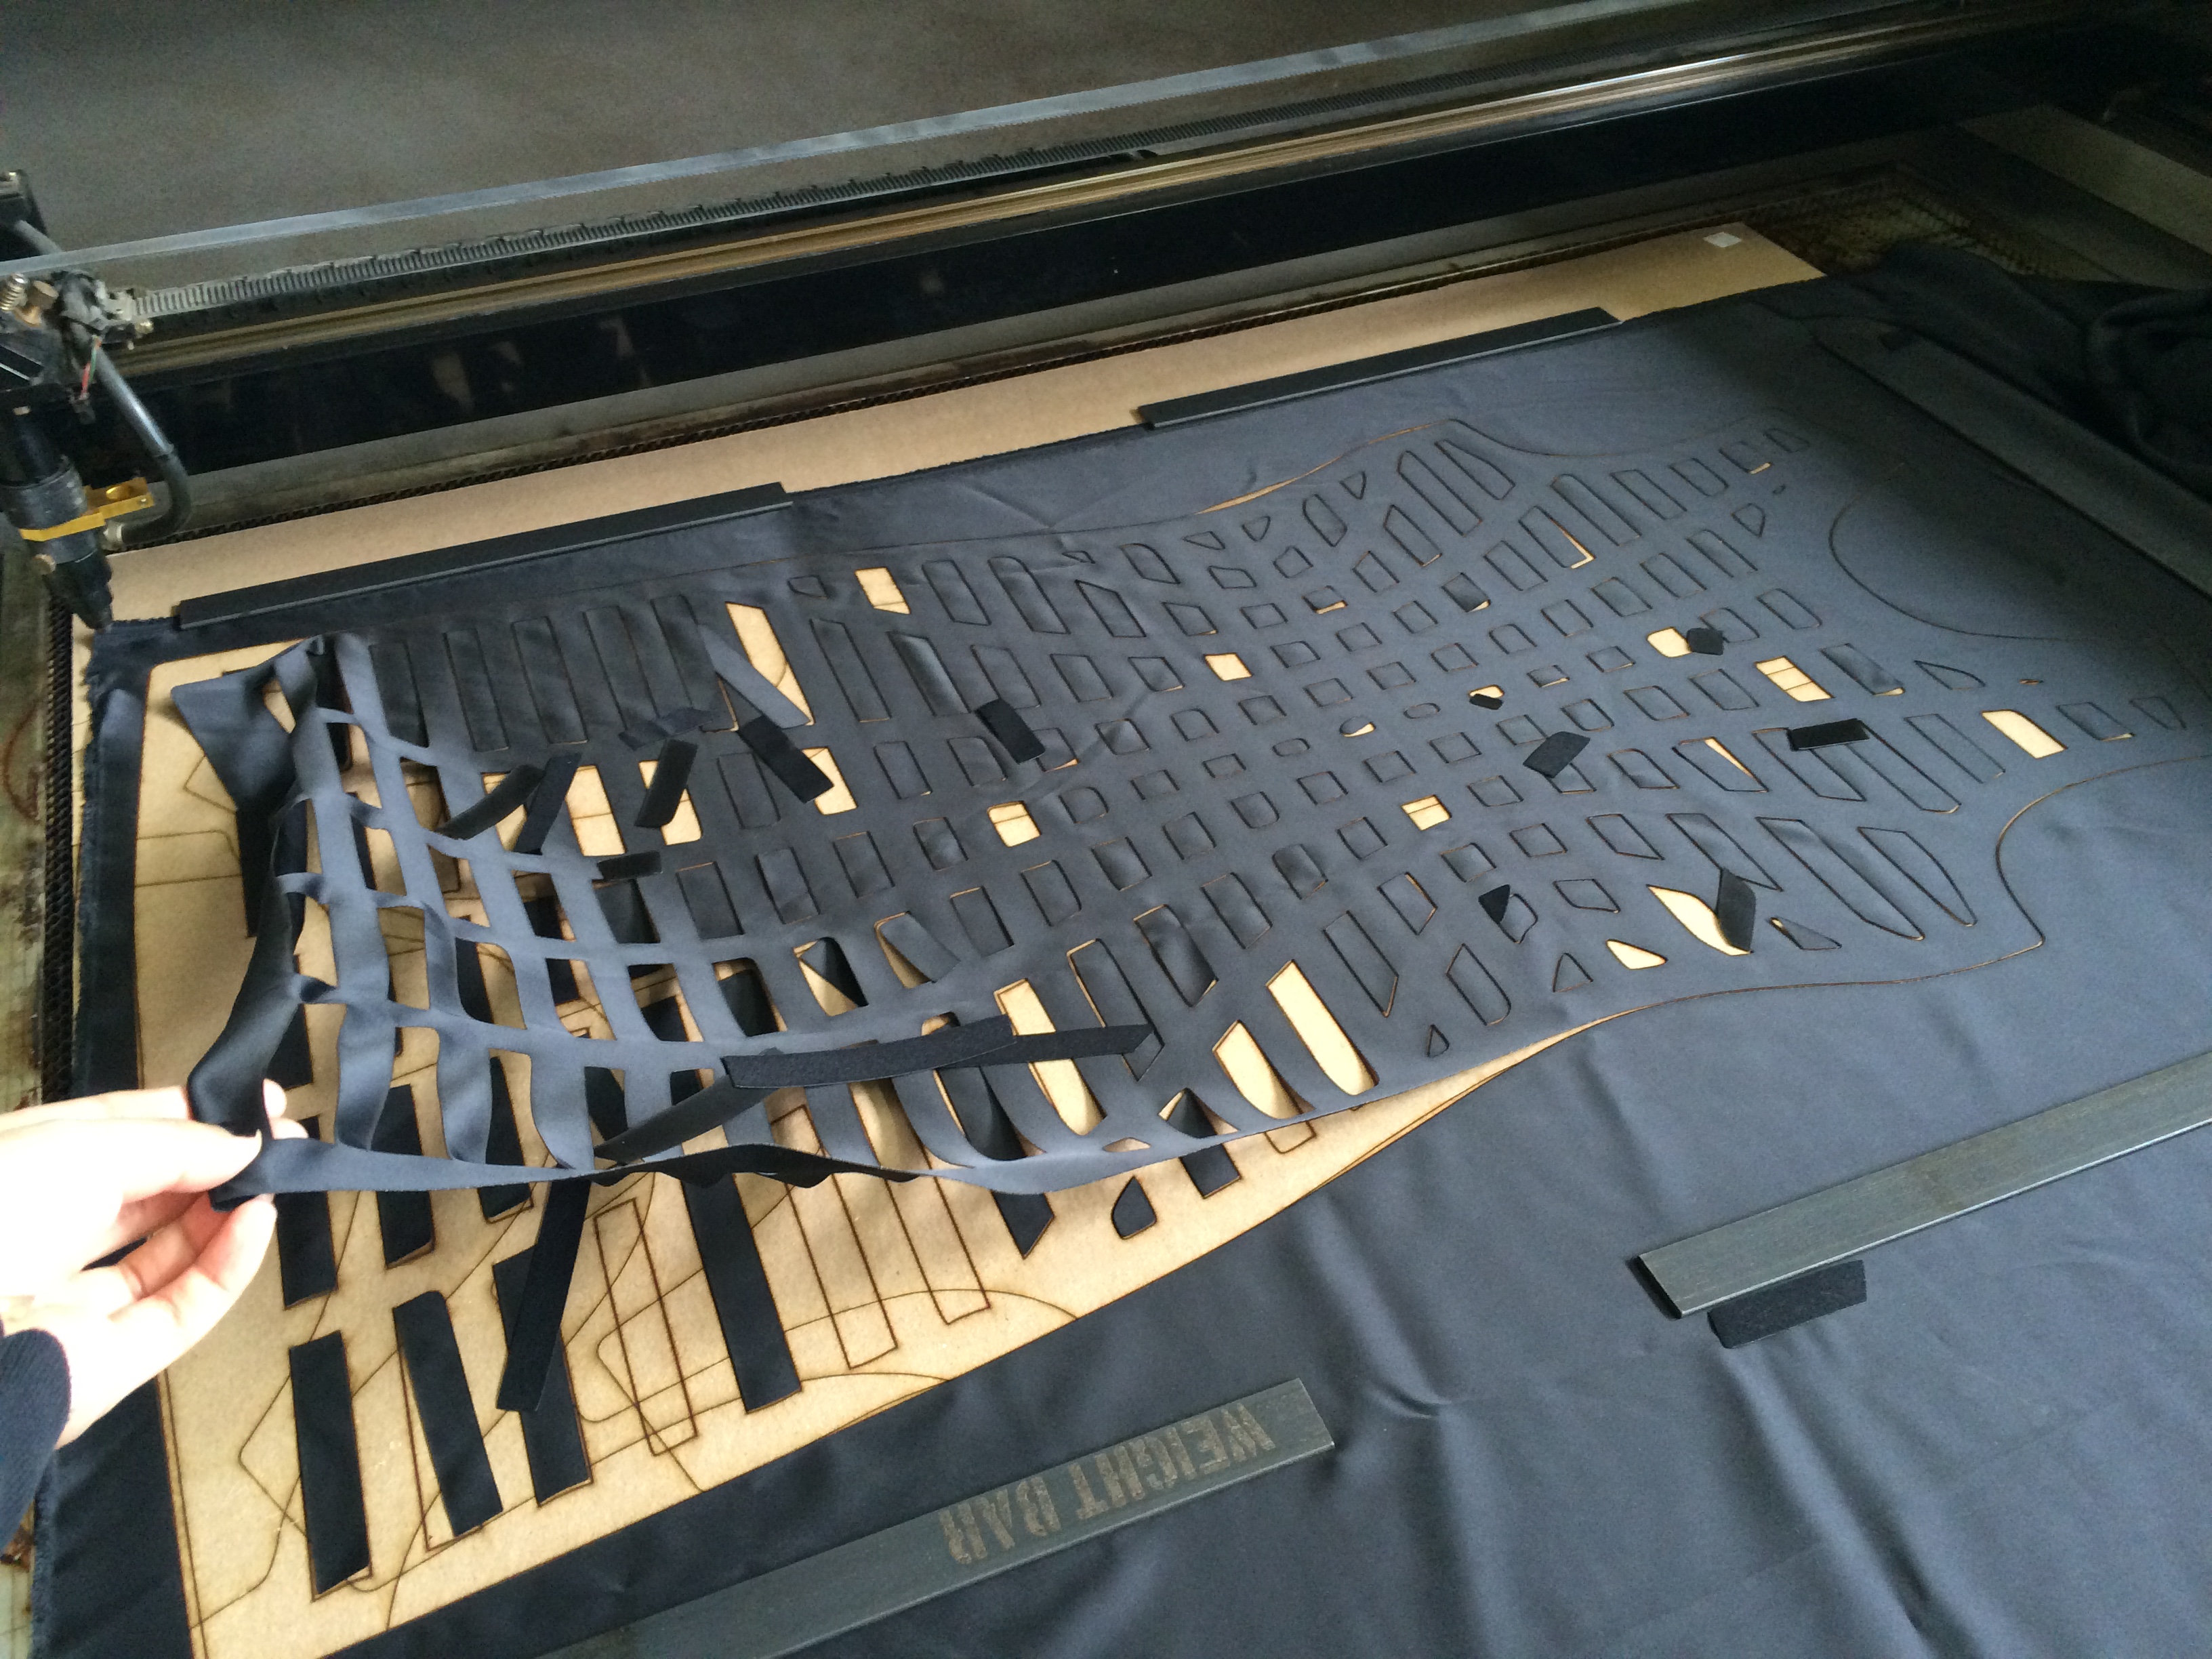
Laser Cutting
I went to SoDo Makerspace with my fabric to laser cut the garment. Pew! Pew!
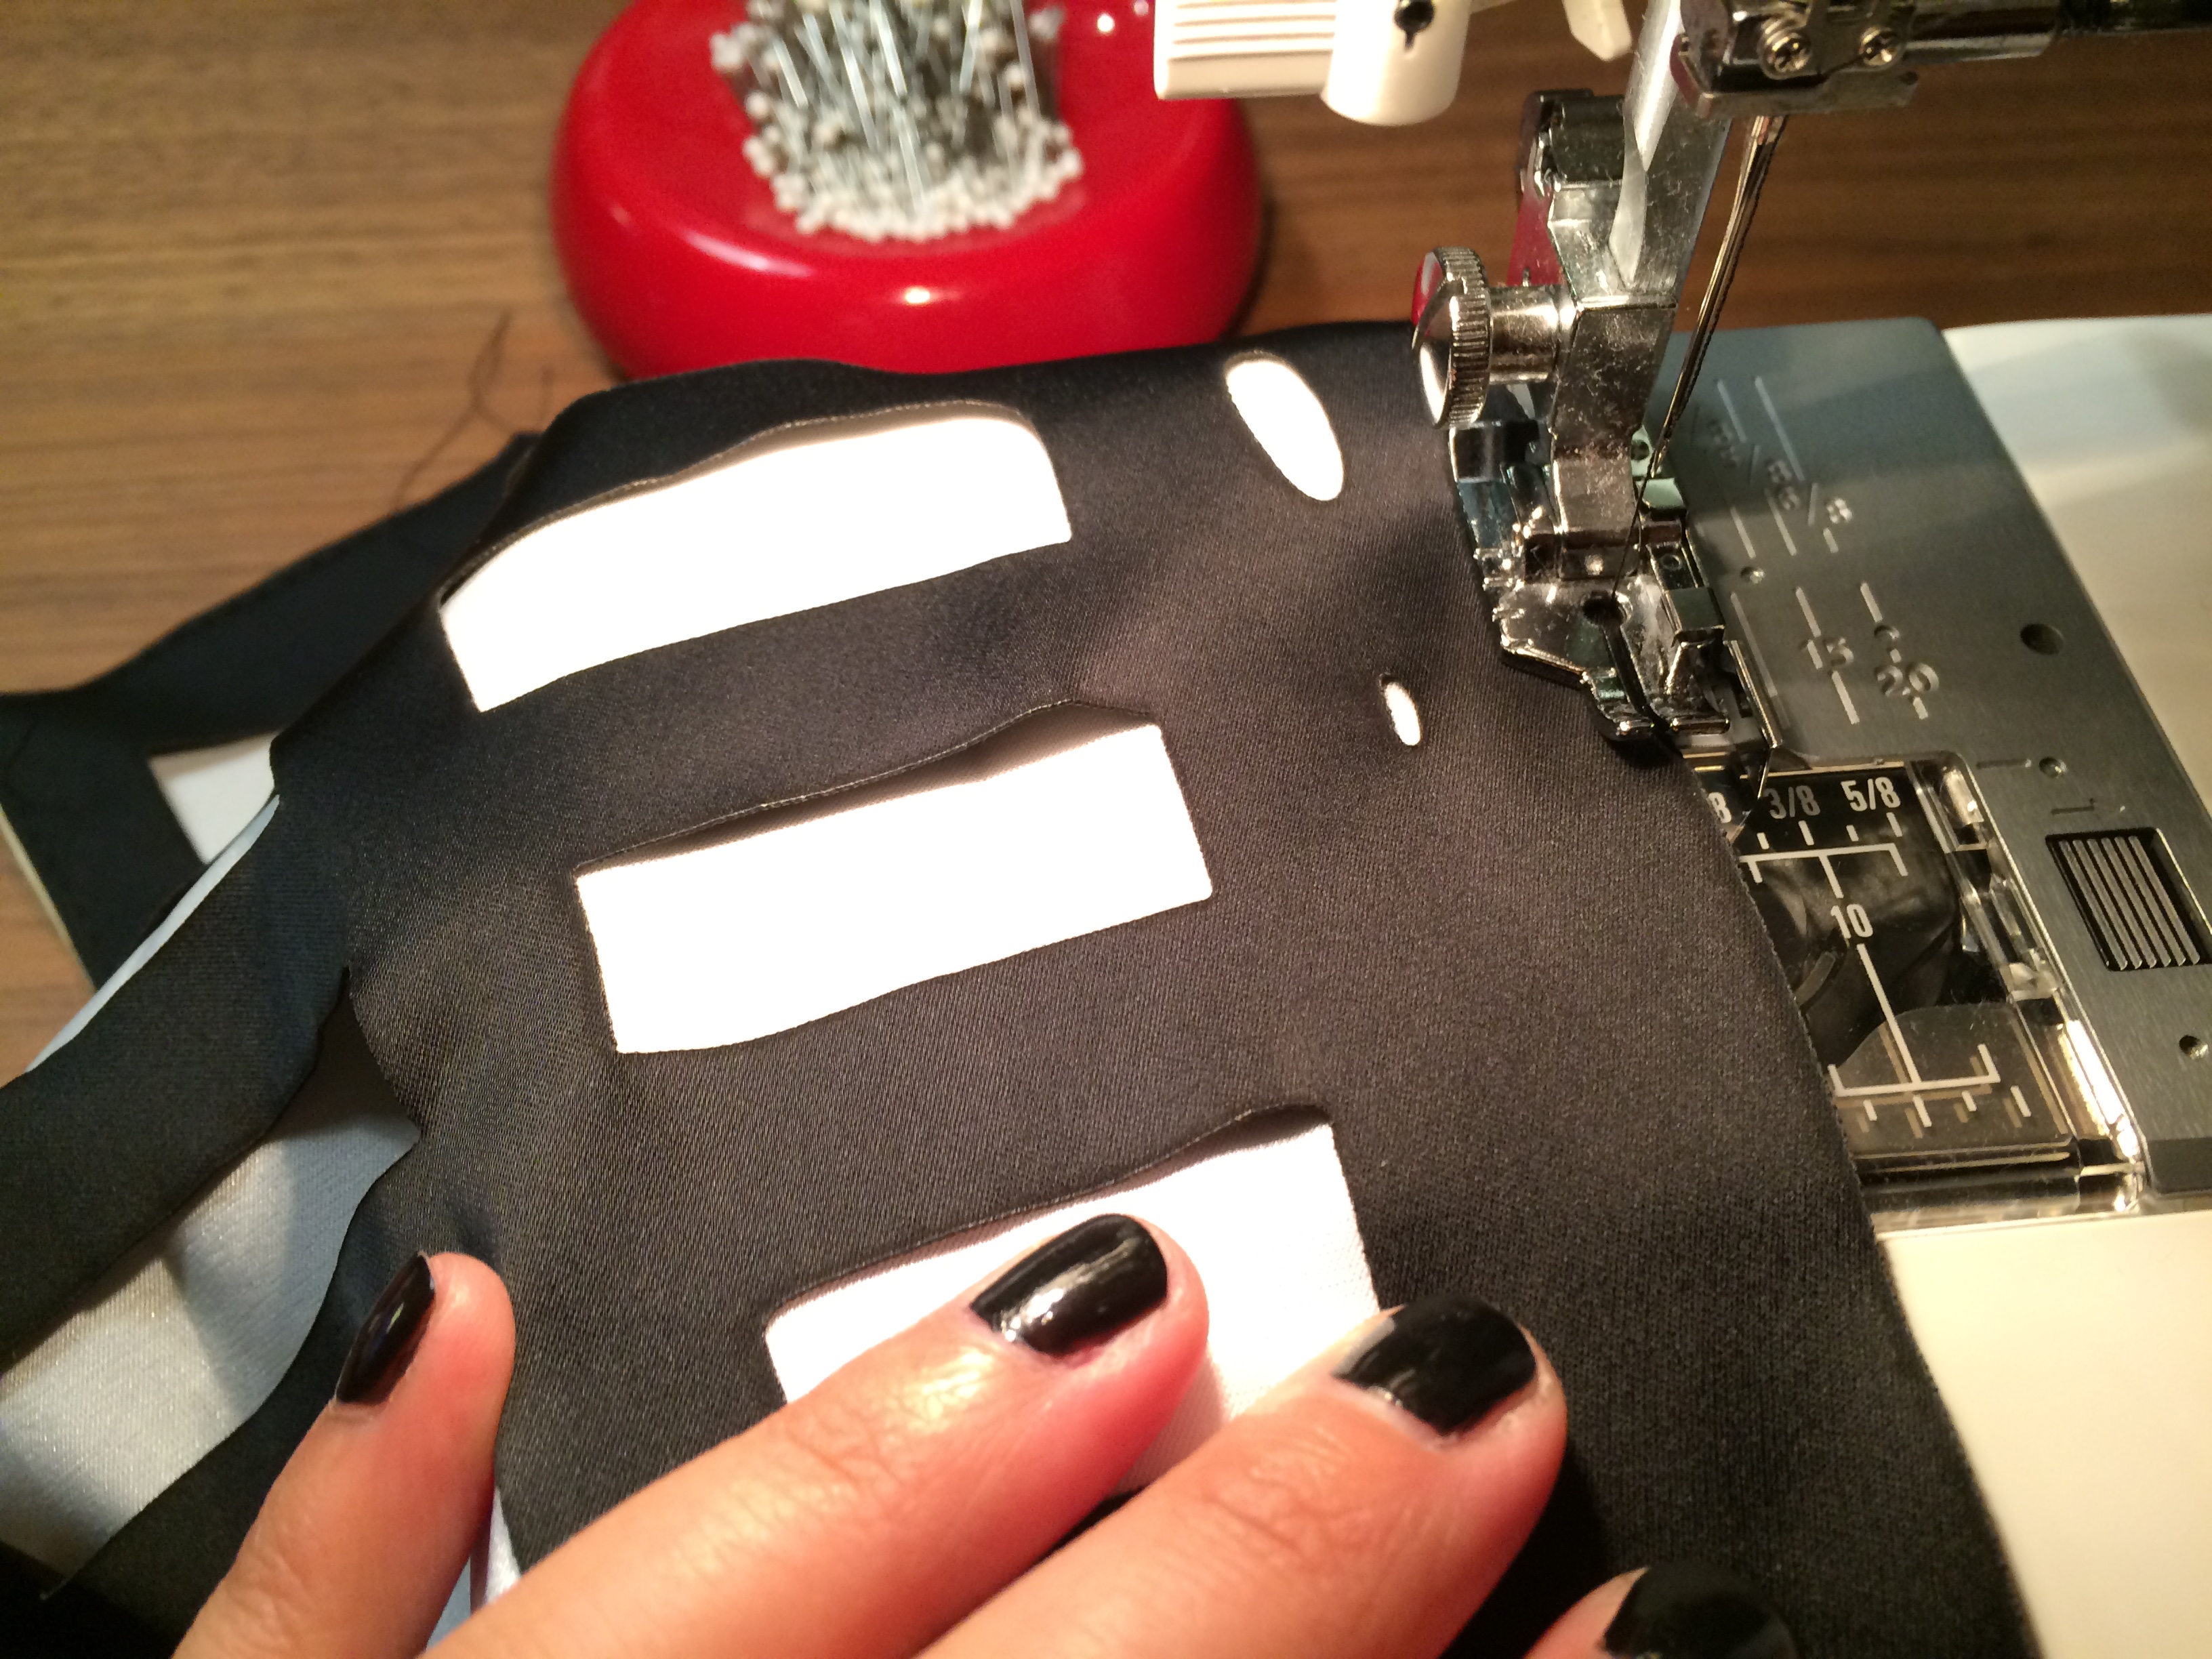
Sewing
After peeling off the fabric from the laser cutter, I sewed it at home.
Final Product
I think it turned out pretty well. It fits like a glove.